I made my card using the retired Stampin Up! set called "Serene Silhouettes", this beautiful set came out in the 2012-2013 catalog, it has 4 fabulous images that can be used for any occasion, here is my card.

This gorgeous group of trees really called for a sunset type of card so I went looking for some cards on Pinterest to get an idea of how to go about getting the colors right. I found THIS CARD and went to work.
I first die cut the circle then, I punched a small circle to mask the sun and proceeded to sponge the sky with Hello Honey and Tangelo Twist inks, I took the mask off and sponged a bit of the left over Hello Honey on my dauber on the sun then, using my MISTI I stamped the tree image and the birds, which are from another retired SU set called "Up, Up & Away" (2011-2012 catalog), several times to get an even coat of Versafine Onix Black ink and then, I heat embossed them with clear embossing powder.
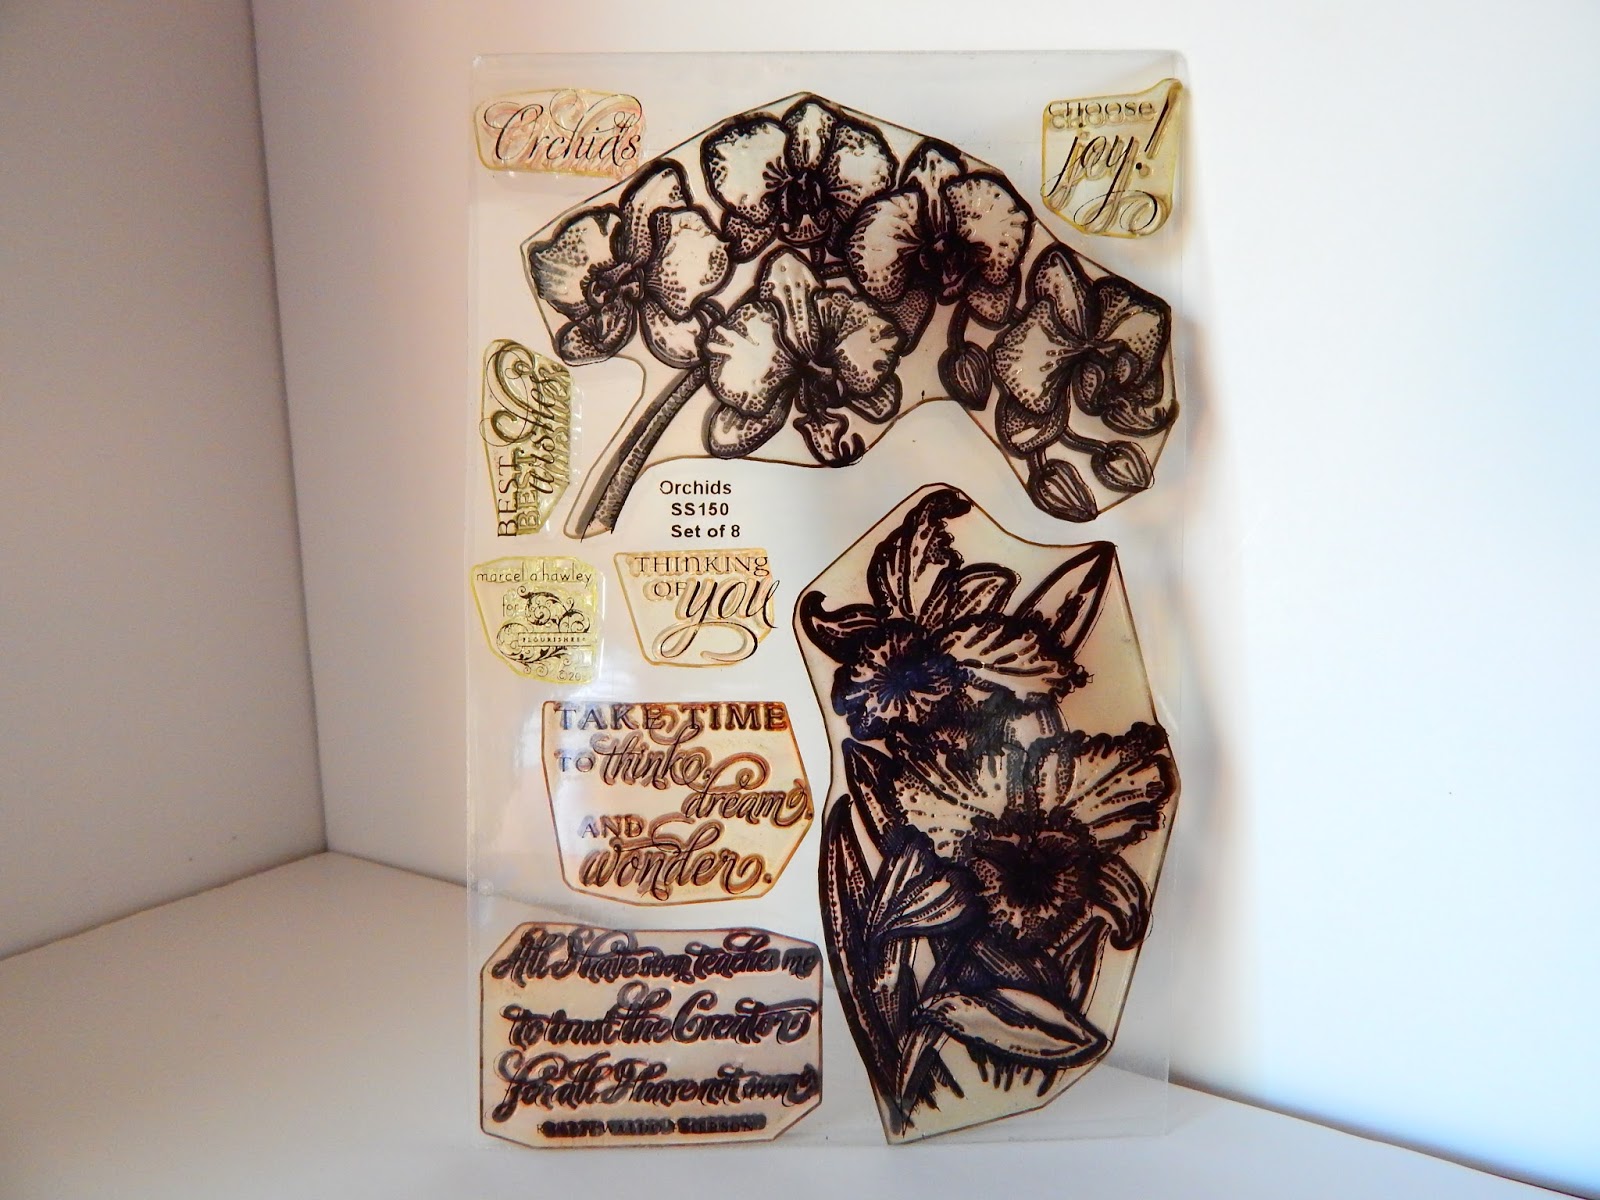
I glued this circle on my white panel and stamped the sentiment from a retired Flourishes set called "Orchids".
Here is a picture of the finished inside of my card, using another one of the images on this set.

For more fabulous inspiration, hop over the rest of my team mates blogs and check out their awesome creations, we can't wait to see what YOU come up with.
Thank you for stopping by, until next time, happy stamping.
Hugs from Maria.
Stamps I used.

8 comments:
oh WOW what a glorious and dramatic card! ♥
Wow is the only thing that comes to my mind too, this is AWESOME.
Thank you Lauren, sponging is not one of my strong suites, I had to practice on scraps first then, I braced myself and did it on the panel.
Thank you Barbara, it took a lot of practice not to get it all blotchy, I'm ok with light sponging but this required a lot more than that.
These are beautiful! I especially love your tree with the vivid orange sunset! I need to work out how to get such rich colours! I only use ink dusters, because when I tried to use Cut & Dry I just made a big mess. Are sponges different?
Jen xxx
Thank you for stopping by Jen. It's hard for me to get an even coat of ink specially if I'm going to add a lot of it to a panel. I use sponge daubers because the rectangular sponges always leave lines, I don't know why. The daubers are small and round so, if you keep a constant circular motion you'll be ok. I ink the dauber then I push the ink on my craft mat to distribute it evenly then, I start at the edges going inwards, it's always better to start light, you can always add more ink if needed. Also, the pressure you put on the dauber or sponge applicator determines the color, if you put more pressure, the color will be more intense.
It just takes practice, I had to practice a few times on some pieces of scrap paper before I did it on my panel.
So maybe get some sponge daubers of ink applicators and go for it, I hope this helps.
Hugs,
Maria.
Oh Maria, this is lovely. Love those vivid colors! I also love the way you finished the inside! You have such an eye, and make the most professional-looking cards!
Thank you Mimi, this two inks help make really beautiful sunsets, after a few tries, I finally was able to get the blending to look ok.
Post a Comment